
Some Tips On Preparing For Your Virtual Interview
The main thing: we wish to create a fun and happy memory for you, as you are interviewed.
And, we also wish to get the best quality video possible of your interview, that honors your time, the memories you shared, and this special project.
Therefore, to the extent you are able, we would love it if you are able to schedule a short meeting with me to show you how to set up your camera, microphone, lighting and background, and to record a high quality video.
You may already have a good setup (and if so, you might not need our extra preparation and support), or you may want to keep it simple. Either way, we have you covered.
Here’s what we will go over if you are able to meet for a few minutes to do a little advance preparation.
Because Zoom recordings are low quality, we would like to record a video at the same time we are doing a Zoom interview with another software called Veed.io. When we meet I will show you how it works. You will just log in to our Veed account, click a few settings, start the recording, and forget about it. It creates a high quality video in our project account at the same time we are doing a Zoom interview, but with much better quality than a Zoom recording.
We will work with any camera or microphone you have, but please have the best quality ready. The camera and microphone on your computer should also be fine.
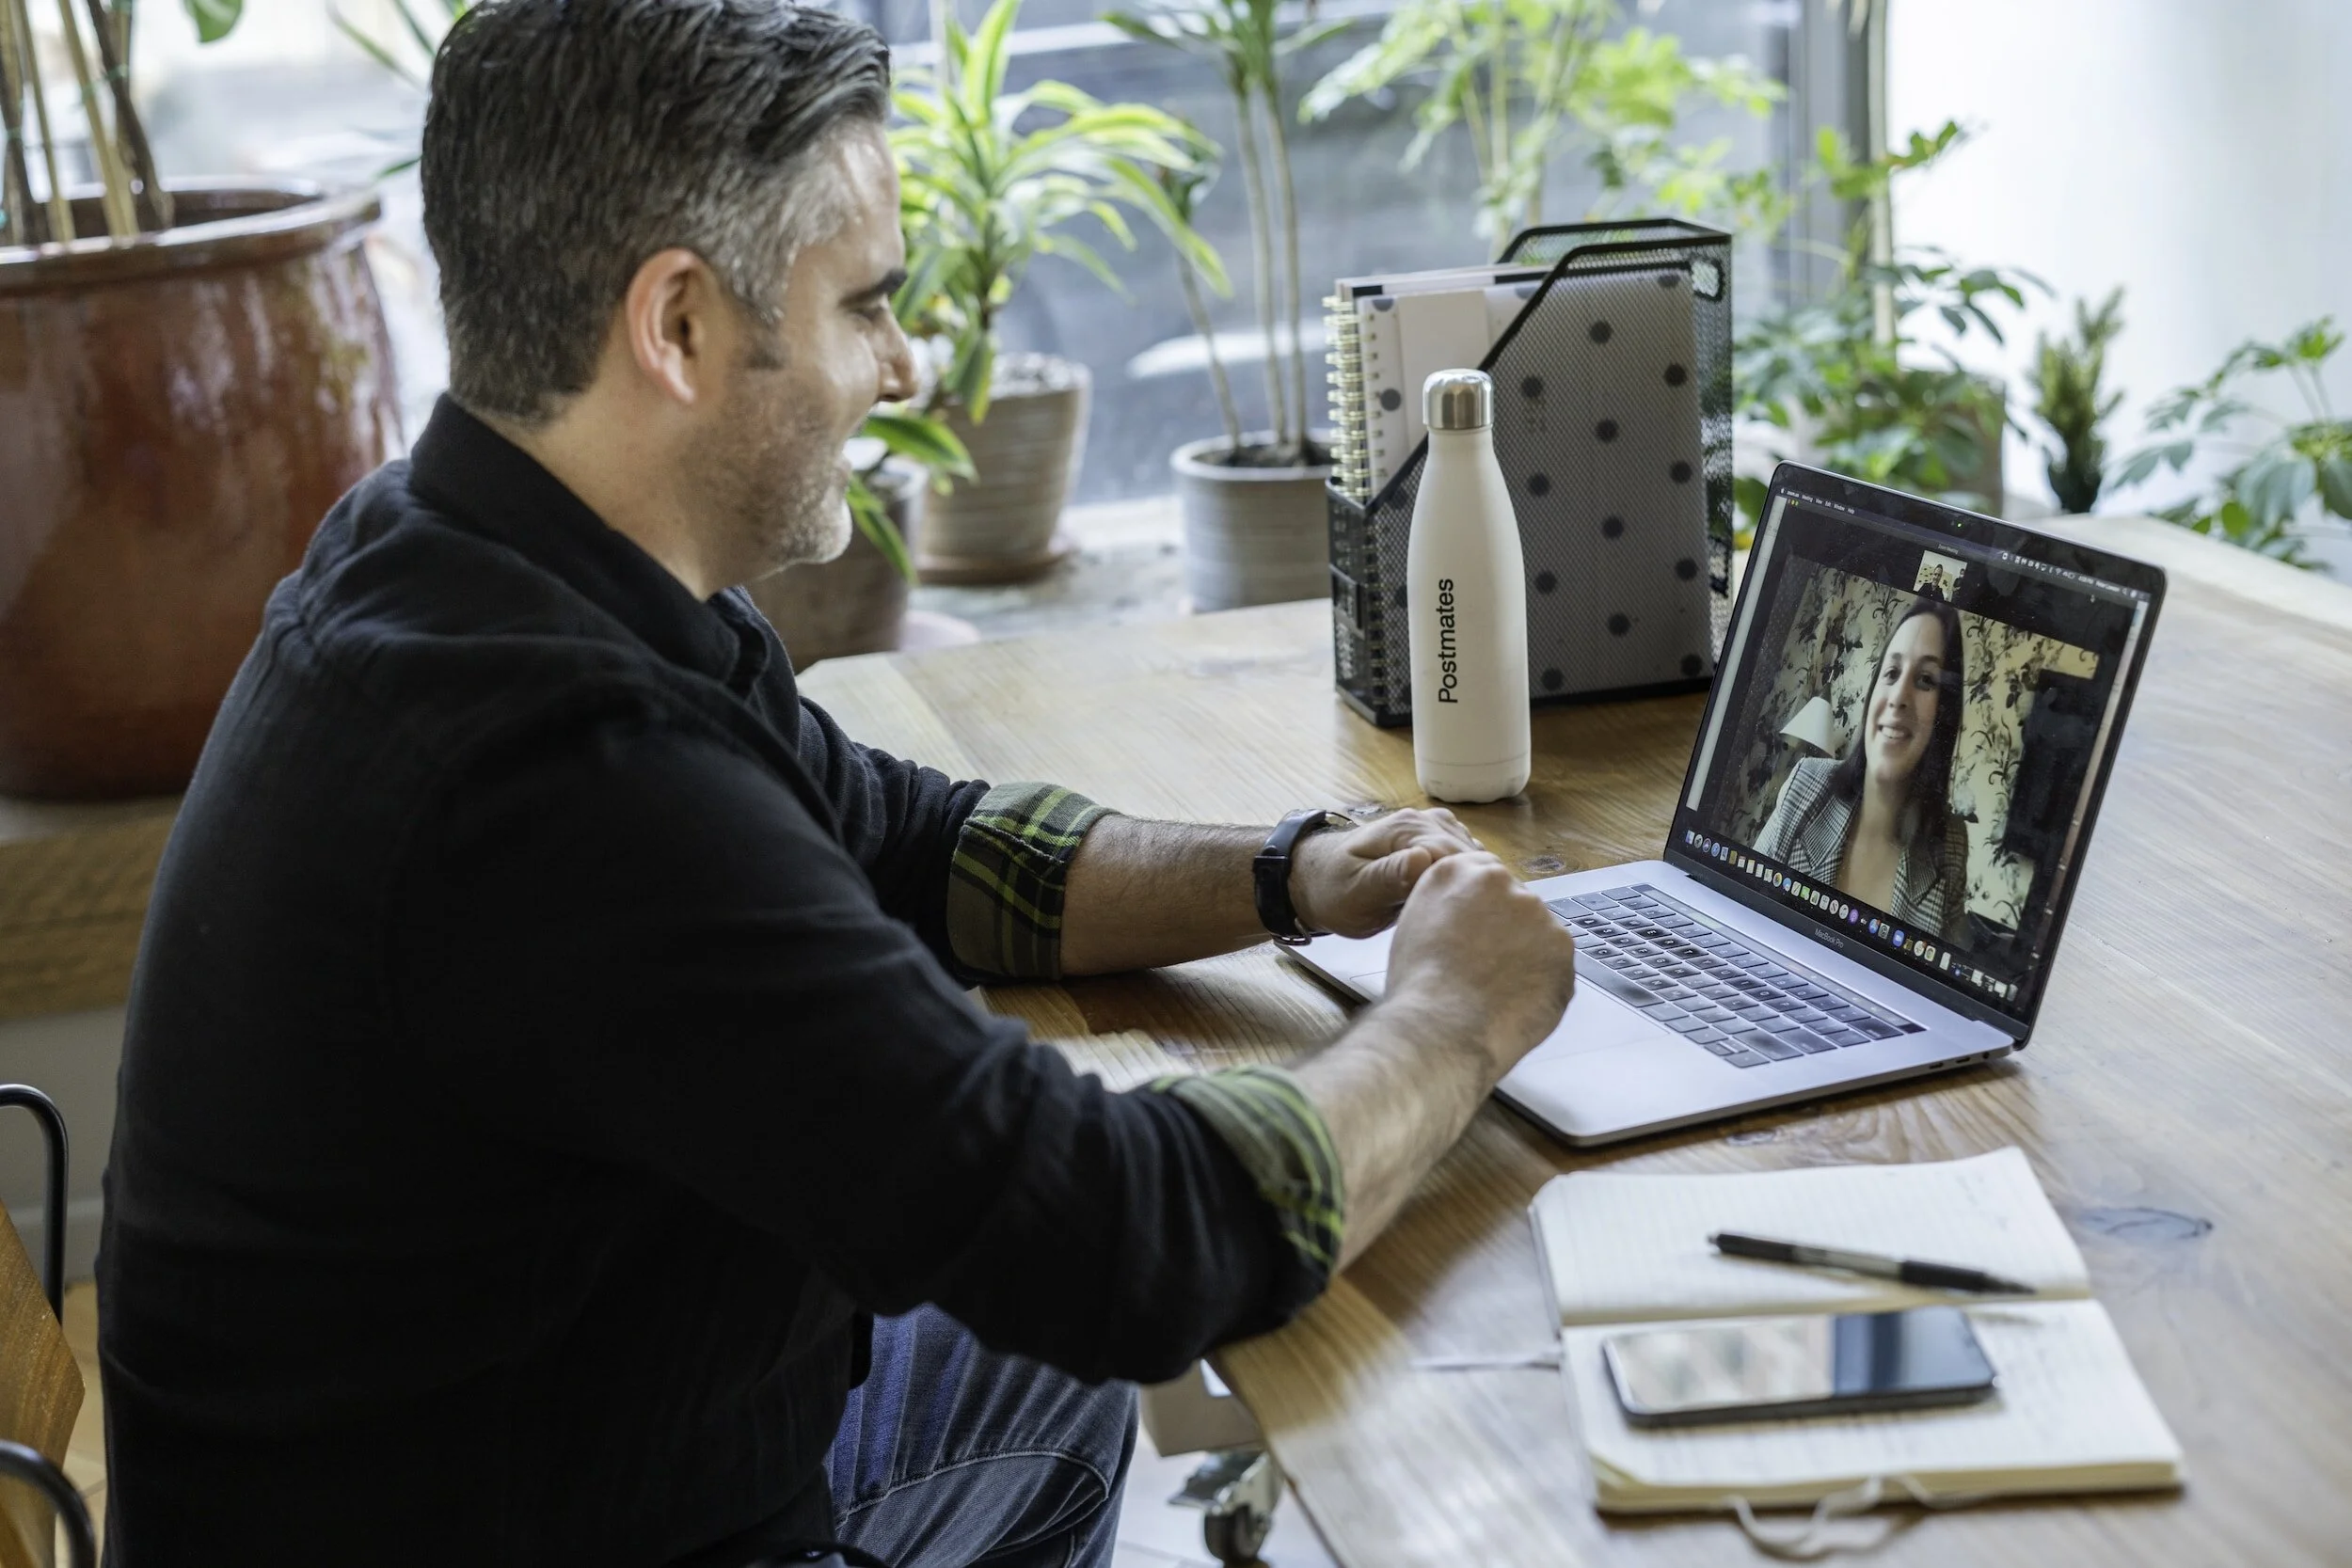
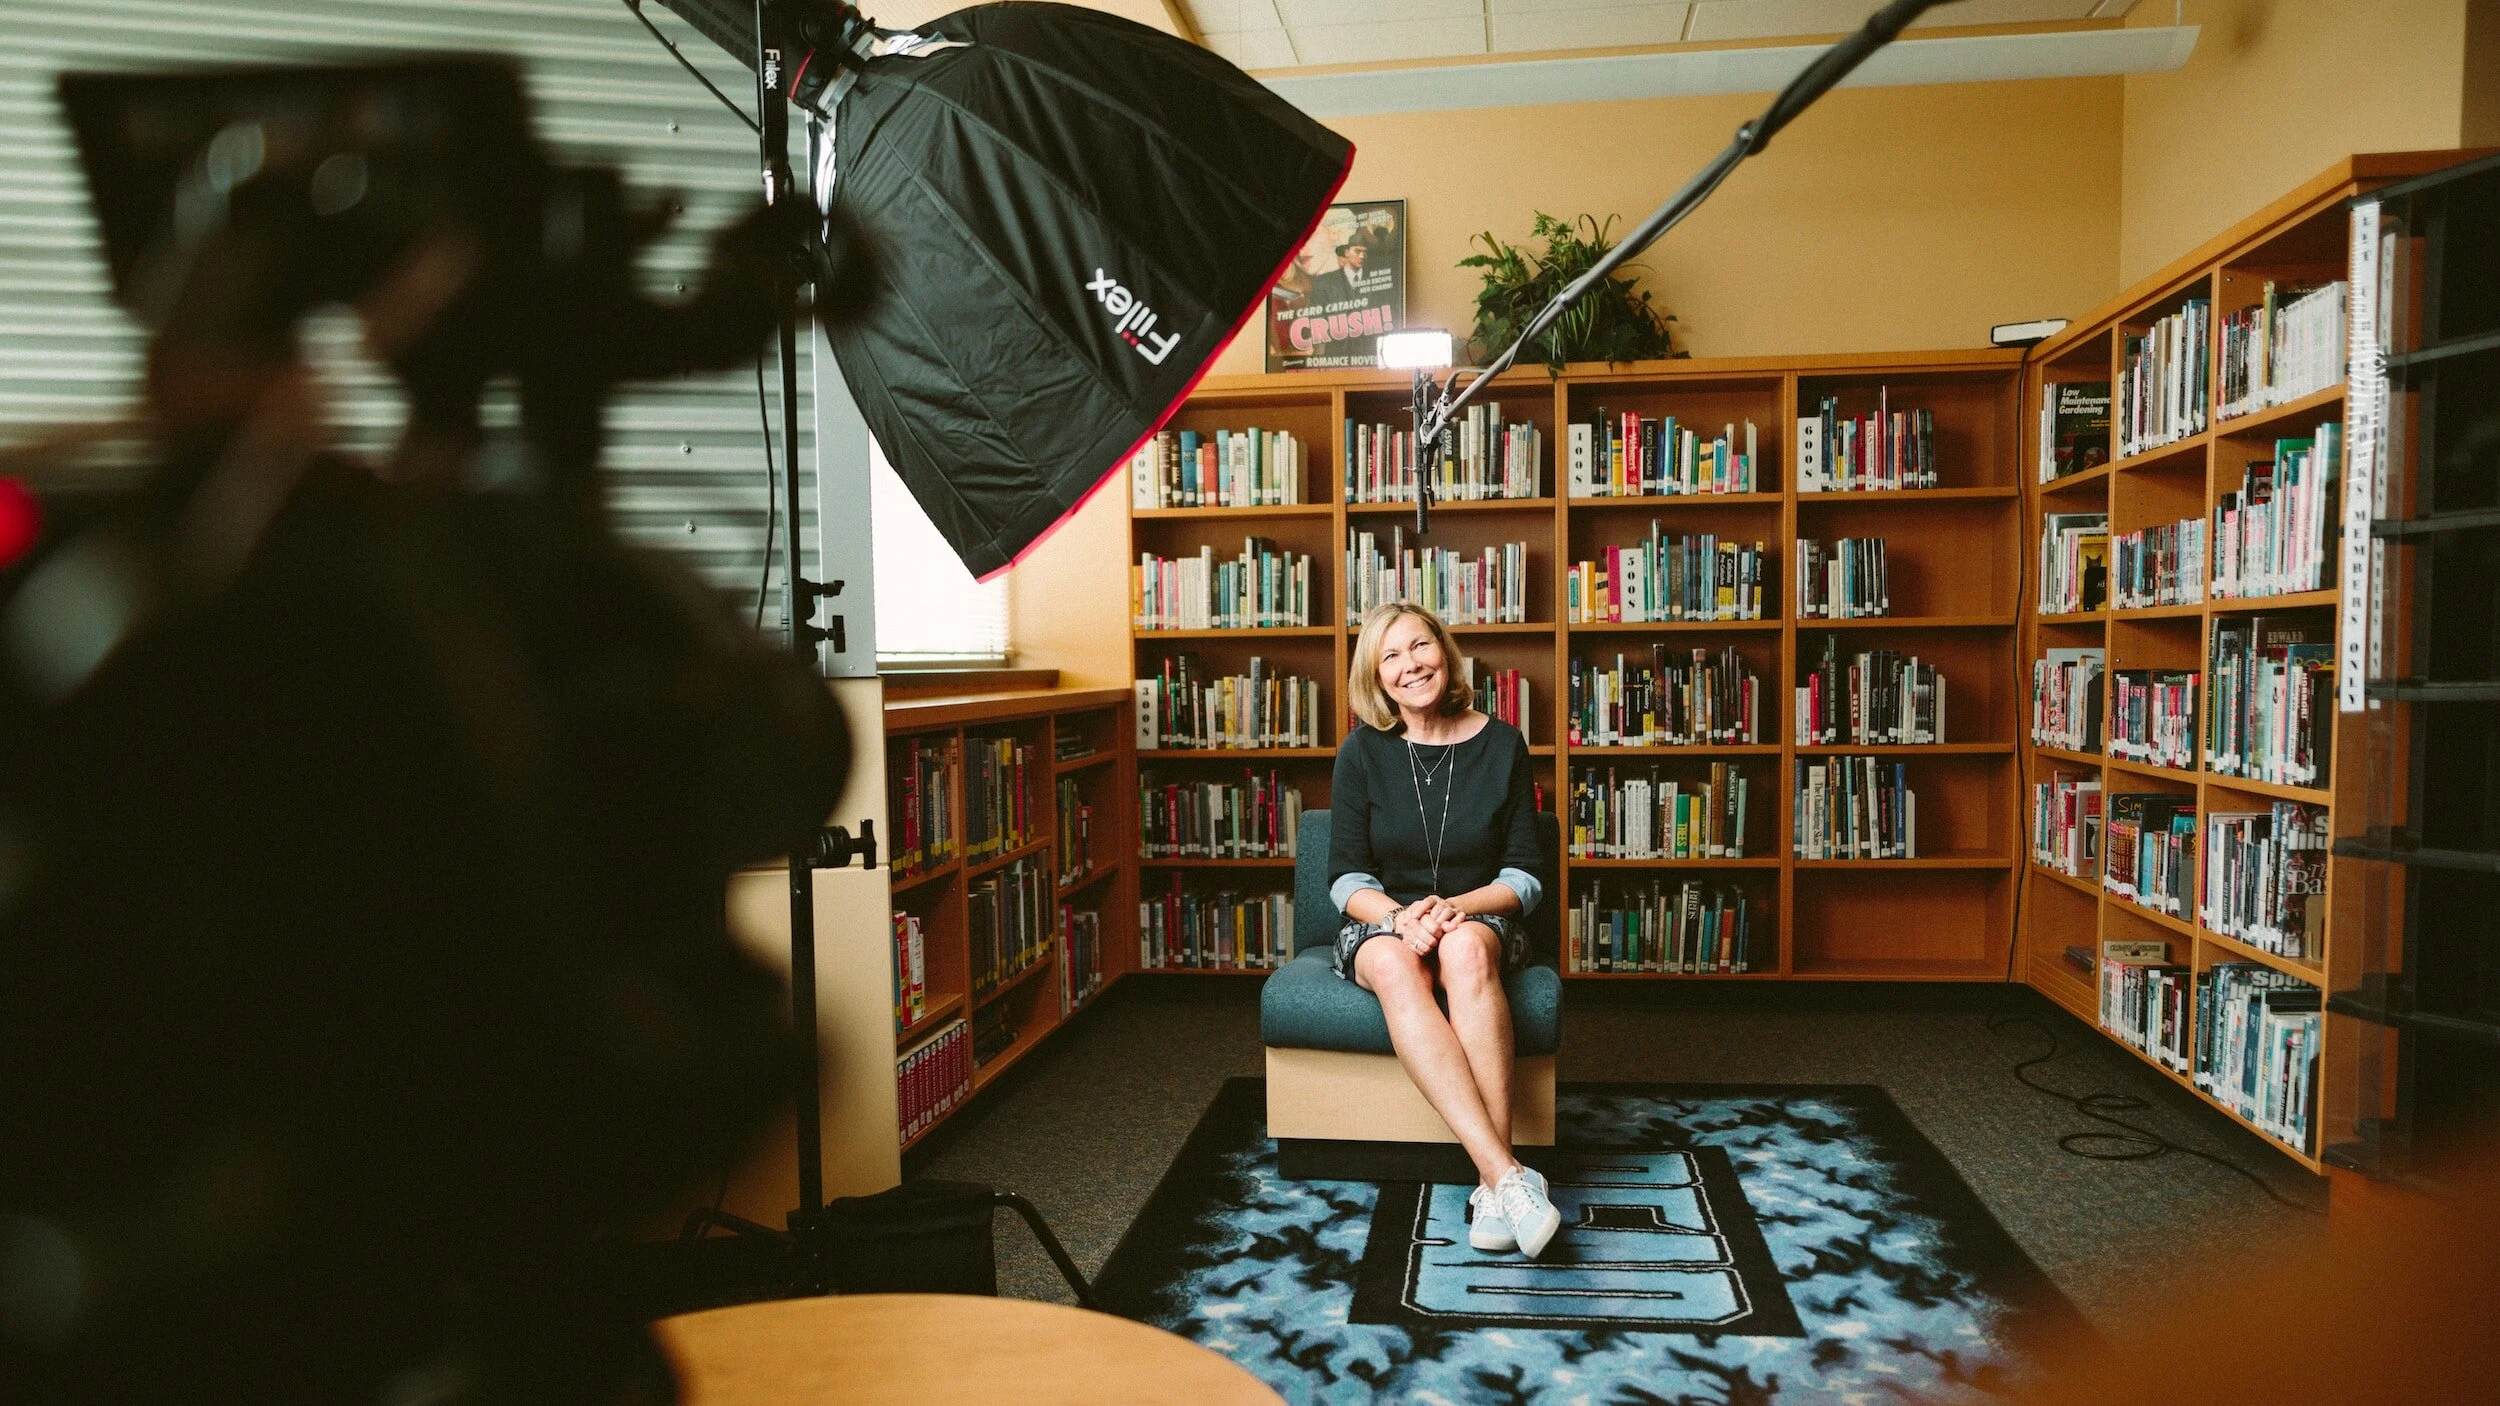
For lighting and background, we will try and get you set up to look your best with whatever lighting you have. Here are some examples below of really good background and lighting.
Again, we want this to be a fun experience that doesn’t deter you with any overwhelming technical challenges. We wish to honor your memories, and create a great experience - this will then translate to some great video!
Best, Shannon & Robert

(below are our archived instructions for our in person video recordings)
Thanks for your participation!
It can be both exciting and challenging being in front of the camera. But I make it easy!
There are just a few things to know.
DO:
1. Do wear something you feel comfortable in
If you’re being interviewed or reading from a script directly to the camera, you’re going to want to feel confident and natural enough to perform like a pro. Like any other normal day, some outfits might make you feel more confident than others. The energy you exude in your video will come through in a much more natural, unscripted manner if you feel good in what you’re wearing.
This is also important for our audio. PLEASE WEAR SOMETHING THAT IS NOT STIFF, STARCHY, OR MAKES NOISE, like scratchy shirts, clinking jewelry, or any accessory or garment that might make even the smallest noise. Soft comfortable clothes and jewelry that doesn’t make noise is essential.
2. Do wear something cool
No, we don’t mean cool as in celebrity “cool.” We mean cool, literally. Wear clothes that will allow heat to escape from your body. The lights on a professional production set can be very hot. With more LED lights being used on set than ever before, your production space can heat up quickly, and the last thing you want is to get sweaty or have all of your makeup come off.
DO NOT:
3. Don’t wear bright, hot colors.
Now, for the don’ts. Even with the infinite power of movie magic (editing), the colors you wear on camera still matter. For instance, wearing intense reds will bleed and could make the surrounding objects, including your face, appear red as well.
On the other hand, cooler colors like teal, purple, or coral will pop more on the screen without affecting how you look.
When it comes to patterns, most are problematic. For example, big patterns tend to be too distracting and take attention away from the subject speaking, while small patterns can create a “buzzing” effect as they appear to buzz around. This is especially true for plaids, zig-zags, and narrow stripes. Your only safe bet with patterns on video are medium-sized patterns, so aim for as neutral of a look as possible.
Oh, and don’t forget: don’t wear green in front of a green screen… unless you’re going for that “floating head” look.
4. Don’t wear colors that compete with your complexion.
If you have a pale complexion, stay away from pure white clothing. Any pure white shirts you wear will appear to glow after the camera operator adjusts the “white balance” (exposure) of the video. Instead, wear something that compliments your skin tone, like a nice light blue, teal, or cobalt.
In general, avoid wearing any color that too closely matches your skin tone. This can either wash you out, making your characteristic face and body features disappear, or cause an optical illusion of sorts, making viewers think you’re nude. Even if it’s very clear you’re not, a person’s subconscious can rarely help going there, so it’s safer to avoid it altogether!
You’ll want to avoid wearing all black, as well. This has less to do with your skin tone, and more to do with the color correction process that happens in the post-production phase, where the editing team adjusts all the colors to match one another. When the color is correctly adjusted to your face, the black of your outfit will look too dark and you’ll lose all the definition of your outfit, making your body look like a formless mass.
5. Don’t forget to enjoy the experience.
Whether you’re filming with outside professionals or an internal video team, at a certain point, you’ll need to let yourself take a deep breath and relax. Trust that the experts behind the camera will make sure you don’t look bad. It is their job, after all.
Instead, let yourself enjoy the experience and have fun with it! Let your personality shine through, both in your performance and in your choice of clothes. If you pick an outfit you feel comfortable and confident in, no matter what, you’re going to look great!